How to steam milk with a small espresso machine
Milk preparation adds a second workflow to espresso: choosing a suitable pitcher, learning the machine's controls and completing cleanup around hot equipment.


Put the wand tip about 3/4 inch below the milk surface, lower the jug slightly to let in air while the milk swirls, then raise it to heat; Breville's Bambino manual says the milk is ready at 140 to 149 °F, when the jug is hot to touch. Purge and wipe the wand straight after.
Milk turns a shot into a flat white, and it adds a second routine to your morning: the right pitcher, the wand's controls, the wipe-down while everything is still hot. Start with your manual. This guide helps you practise the same way every time, without promising a magic steaming time or temperature that works on every machine and every milk.
Our rankings for this: latte and cappuccino machines and small espresso machines.
Affiliate disclosureAs an Amazon Associate we earn from qualifying purchases made through links on this page. Commissions never change our ratings.
Learn the control sequence before making the drink
Identify whether your machine uses manual steaming, an automated milk function or a separate frothing accessory. Read what each control actually does and what the user must do before and after the cycle. Do not assume a feature from a similarly named Plus or Pro model is present on yours. A product photograph showing a pitcher is not evidence of automatic operation.
Find an exact-model demonstration when the written sequence is difficult to visualize. The Bambino support hub, for example, organizes manufacturer tutorials by task. Treat demonstrations as instructions for their identified equipment rather than performance comparisons. If you are still deciding what to buy, return to our machine selection guide and include the milk routine in your shortlist. A setup should suit the person who will use it on an ordinary morning, not just someone willing to practice extensively on a weekend.
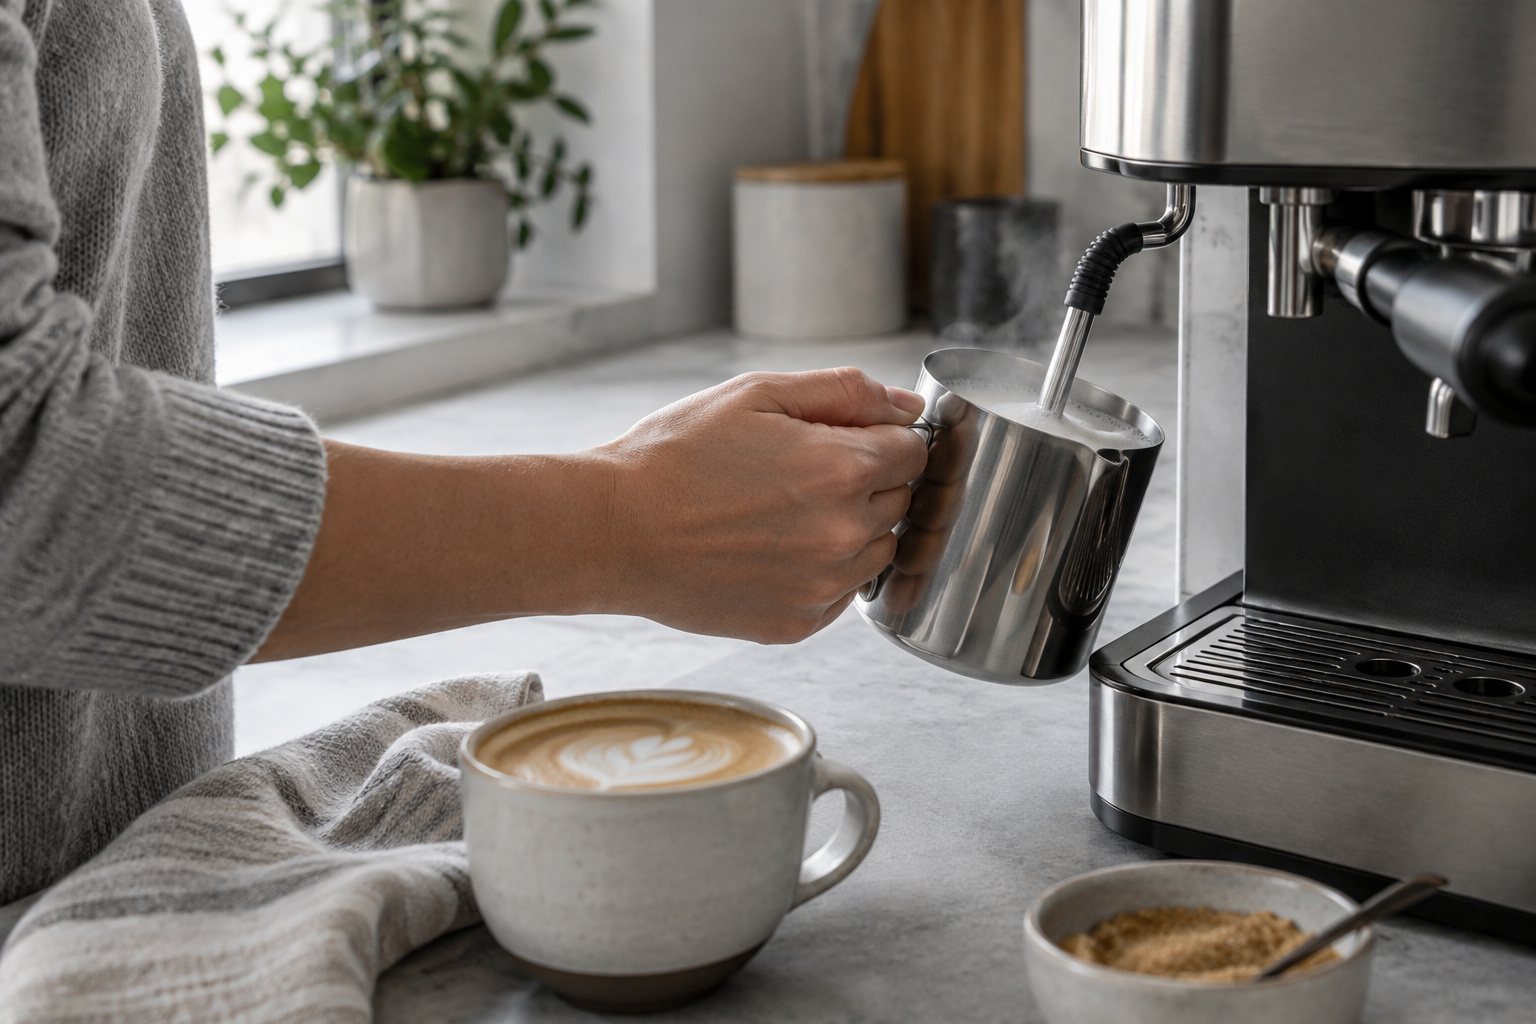
Check the pitcher in the available space
Before adding milk, understand how the pitcher is intended to sit beneath or around the wand. Verify capacity and operating guidance from the equipment documentation rather than filling by the visual height of an unfamiliar cup. Leave any expansion room the instructions require. Check that the handle can be held comfortably without moving your hand into the path of steam or against hot metal.
Consider where you will place the pitcher before and after use. A cramped counter can turn an otherwise understandable process into a juggling exercise. Keep the machine on its approved surface and do not pull it toward an edge simply to gain wand clearance. If you are buying a pitcher, verify dimensions and whether a particular shape or sensor arrangement is required for the machine's milk system. Category membership alone does not prove compatibility. An attractive pouring spout cannot compensate for a vessel that does not work with the intended operating arrangement.
Practice with a controlled set of choices
Choose one milk and a consistent drink to learn with, while following storage and handling directions on the milk packaging. Write down the mode or setting used and one observation about the result. Changing the milk, pitcher, quantity and control sequence together makes it difficult to know which change helped. You do not need a numerical foam score to recognize whether the texture suits your drink.
Breville's microfoam tutorial distinguishes texture from temperature and recommends practicing with the same milk for consistency. It also includes separate material about alternative milks; that is a reason to check relevant guidance instead of assuming every product behaves identically. Keep expectations modest while learning. A milk drink can be enjoyable without decorative pouring. If the underlying espresso also changes from attempt to attempt, work through our espresso dialing-in method separately so you are not troubleshooting two unfamiliar routines at once.
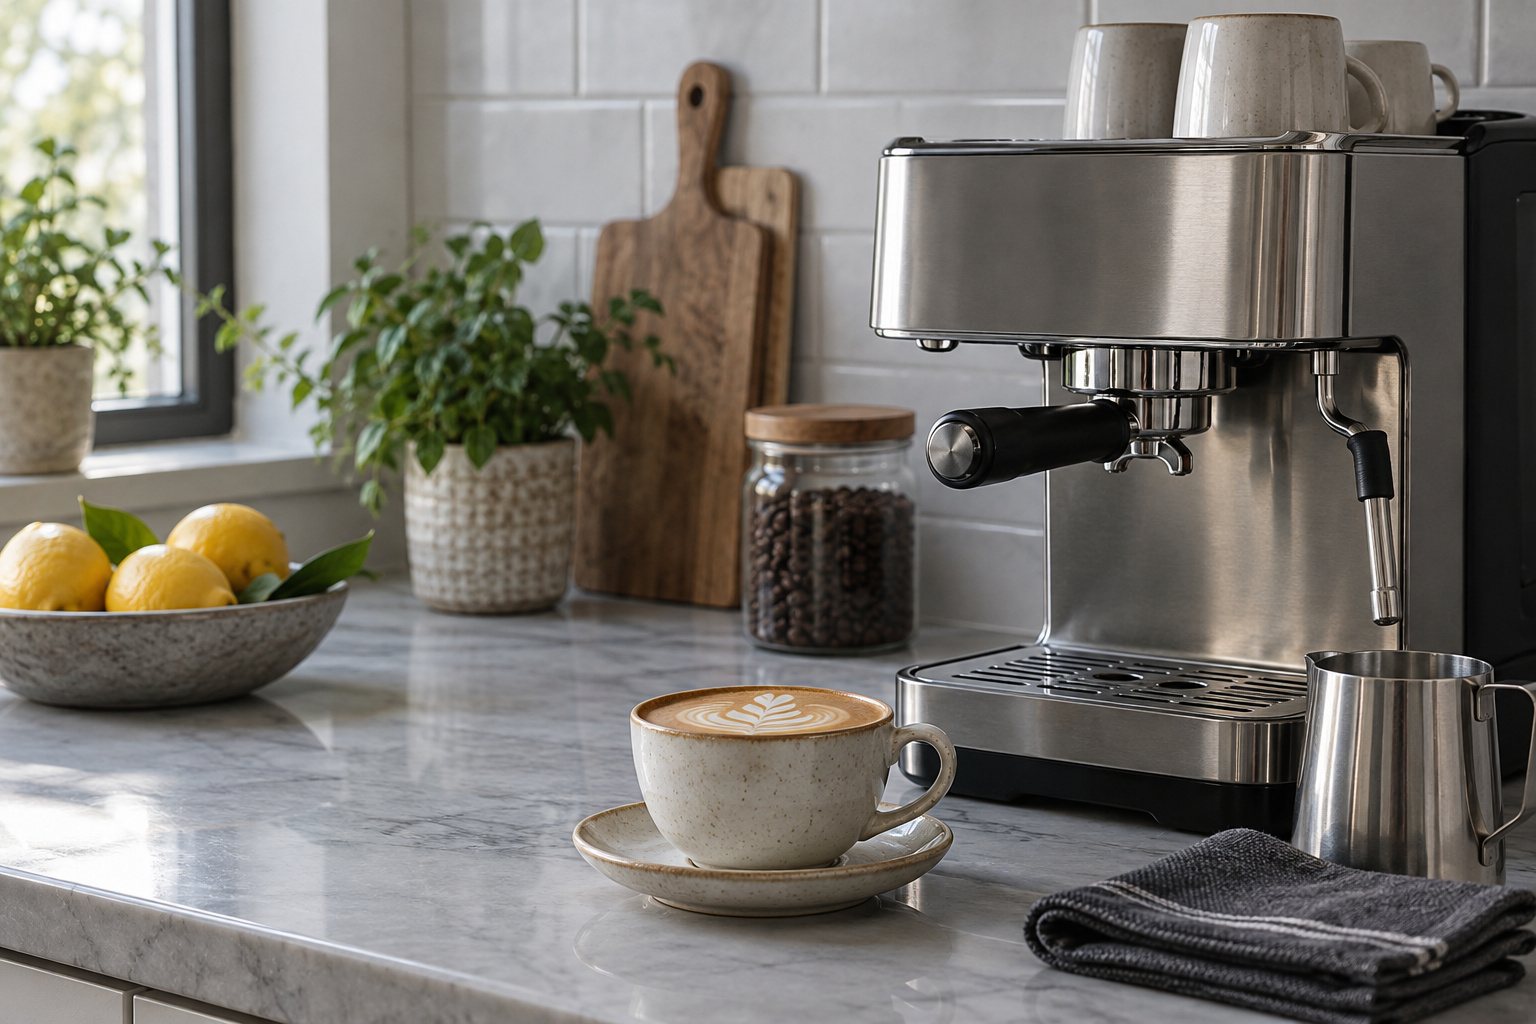
Treat hot equipment and cleanup as one sequence
Know how to stop the function safely before starting it. Follow the manual's instructions about when the pitcher may be moved and where a purge is directed. Do not inspect a steam opening with your face or fingers, and do not improvise a cleaning action while the equipment is operating. Keep children and distractions away from the working area.
Have the dedicated cleaning items ready and follow the machine's specified post-use process. Our cleaning organization guide helps separate routine care from deeper maintenance. If steam behavior changes, use the exact troubleshooting instructions rather than treating a blocked wand as a reason to increase force or insert an arbitrary sharp object. A clear sequence is particularly valuable in a shared household: the next person should know whether the machine is ready to use or still awaiting cleaning. Leave tools in their proper storage place after they are clean and dry as directed.
Buy an accessory to solve a defined problem
After several consistent attempts, describe the difficulty precisely. Is the pitcher awkward to position? Is the handle uncomfortable? Are you unable to read an instruction or identify a setting? Some problems call for a different compatible accessory, while others call for clearer instruction or manufacturer support. Do not assume a new pitcher can change the machine's documented operating limitations.
The accessory cards in this guide are suggestions to investigate, not a claim that each item fits every steam wand.
- Check the exact dimensions, intended use and care instructions.
- Keep the routine that works for your preferred drink and reconsider a purchase only when you can explain the task it improves.
- A practical goal is repeatable preparation and manageable cleanup, with enough counter room to work safely.
- Latte art can remain an optional learning project rather than the test of whether your compact machine purchase was worthwhile.
| Section | Key point |
|---|---|
| Learn the control sequence before making the drink | The Bambino support hub, for example, organizes manufacturer tutorials by task. |
| Check the pitcher in the available space | Leave any expansion room the instructions require. |
| Practice with a controlled set of choices | Keep expectations modest while learning. |
| Treat hot equipment and cleanup as one sequence | Keep children and distractions away from the working area. |
| Buy an accessory to solve a defined problem | Is the pitcher awkward to position? |
Our rated picks
The three best-rated models of our latte and cappuccino machines ranking, from the buyer review record and the listed specs.
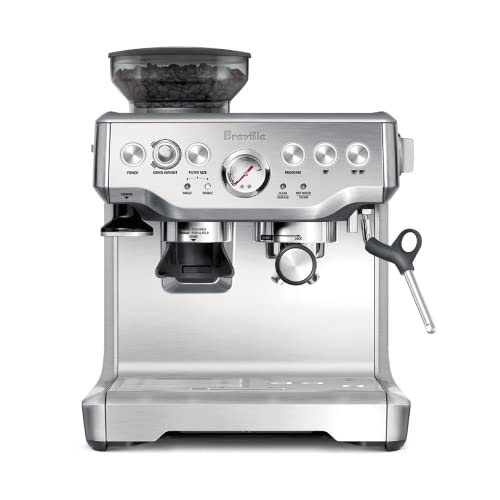


Product images: Amazon listings
Frequently asked questions
Can a small espresso machine still steam milk well?
Yes, if it has a steam wand and you give it a moment to switch from brewing to steam. Our latte and cappuccino machines ranking keeps only machines that state a wand or a frother.
What size milk pitcher should I use?
The one your manual specifies, with room for the milk to expand. Breville lists the Bambino Plus jug as 16 fl oz (480 ml), and its automatic texturing works only with that jug.
Manual wand or automatic frother?
A manual wand gives you control (and latte art, with practice). Automatic texturing is easier on busy mornings: the Bambino Plus stops when the selected temperature is reached.
Why does my steam wand sputter or block?
Usually dried milk. Purge it before and after steaming and wipe it after every drink; if it stays blocked, follow the manual rather than pushing a pin into the tip.